
There's a truth every experienced smart home integrator knows that most homeowners discover too late: the decisions made before a single wire is pulled will shape your home's intelligence for the next 30 years. According to a report, there are more than 46,000 cases reported due to home electrical wiring failure.
Therefore, building a smart home requires efficient electrical wiring throughout the home, so you can be safe from any mishaps in the future.
Let’s dive into the electrical wiring checklist.
1. Bring In Your Integrator Early
The single biggest mistake we see in new construction is calling a smart home company after the walls are closed. By then, every wire you wish you had run costs five times more to add, and some of it cannot be added at all without tearing into finished surfaces.
Bring your integrator into the conversation during the design phase, right alongside your builder and electrician.
We have walked plenty of Middle Tennessee homeowners through framing-stage walkthroughs, and the ones who plan early almost never call us later wishing they had done something differently. This is the cheapest, easiest moment your project will ever have. Use it.
2. Build A Wired Backbone
Wi-Fi is wonderful, but it should be the last few feet of your network, not its foundation. A home that leans entirely on wireless tends to feel fast on move-in day and frustrating two years later when devices pile up.
Run Cat6 or Cat6a cable to every room, and treat your wireless access points, cameras, smart hubs, and TVs as hardwired devices wherever you can. Wired connections are faster, more stable, and far easier to troubleshoot.
A good rule of thumb is to over-run rather than under-run. Pulling an extra cable while the walls are open costs a few dollars in materials. Pulling it later costs a service call and a patched ceiling.
3. Add A Neutral In Every Switch Box
This one is small, cheap, and constantly overlooked. Most modern smart switches and dimmers need a neutral wire to function, and older wiring methods often left it out of the switch box entirely.
Ask your electrician to confirm a neutral is present at every switch location, not just the ones you plan to make smart today. Homeowners change their minds, and the closet switch you ignored this year becomes the one you want on a schedule next year. Adding neutrals during rough-in is routine. Retrofitting them later means opening walls.
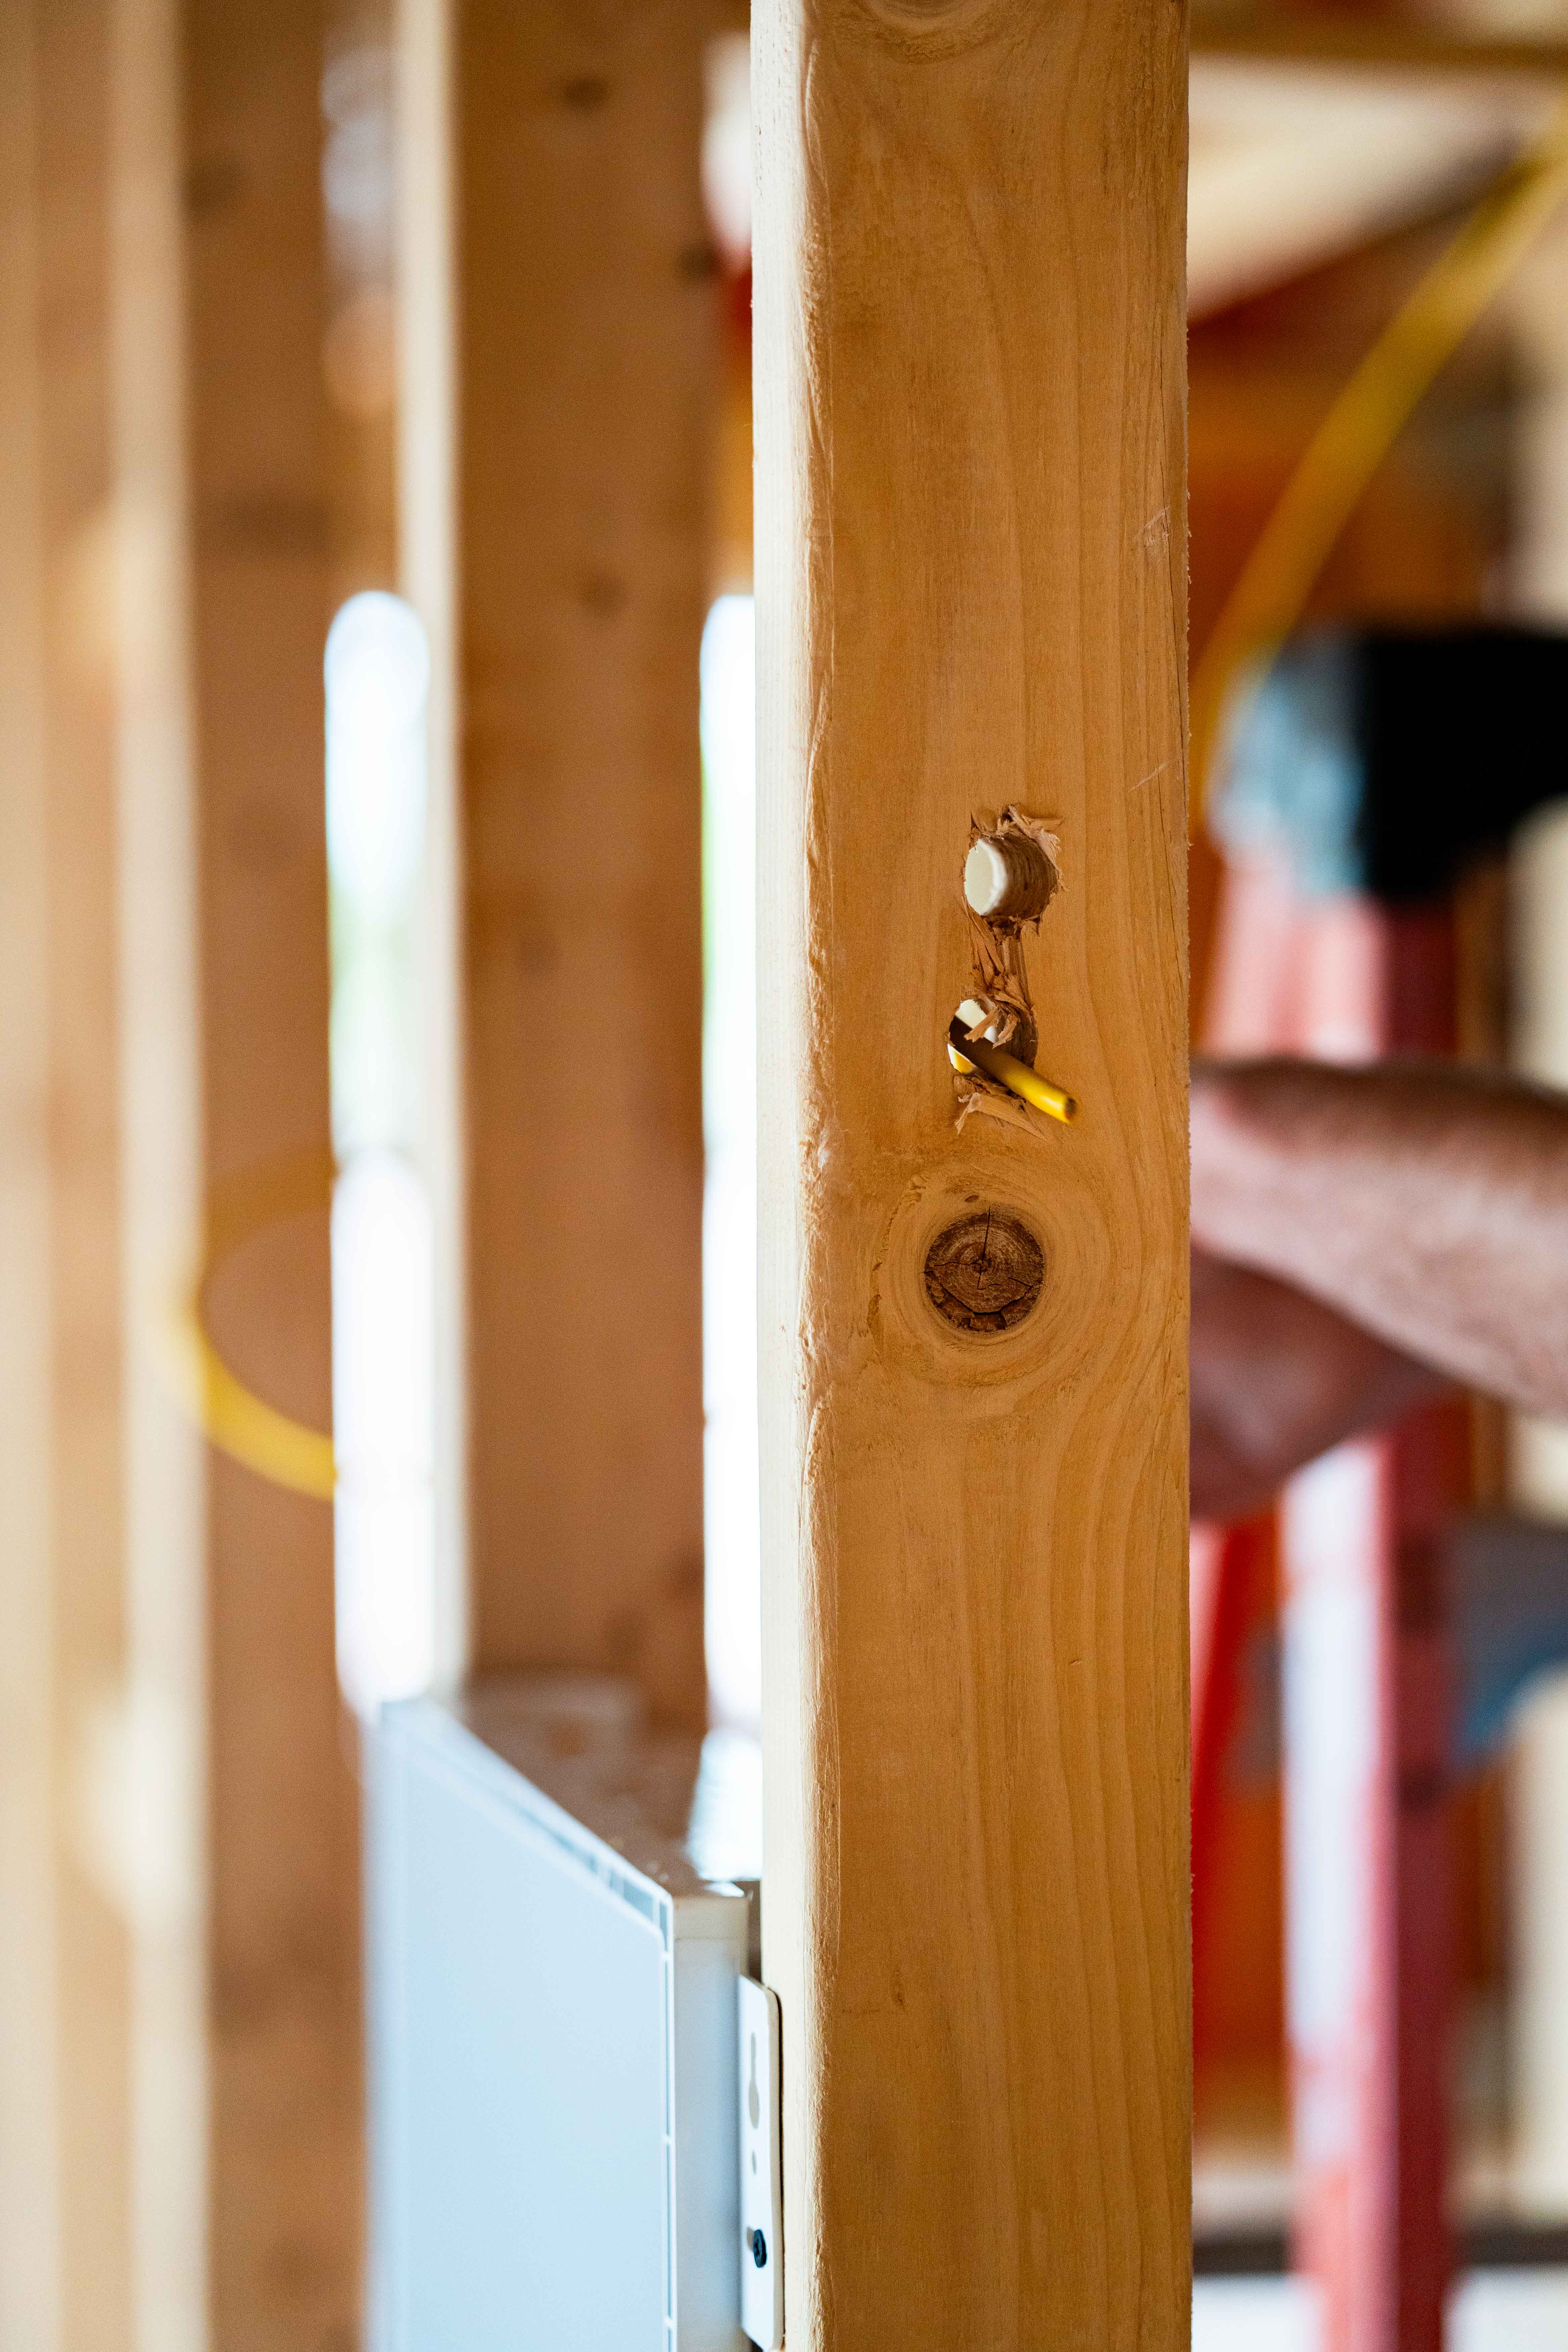
4. Run Conduit For The Future
You will not guess every future need correctly, and that is fine. The trick is leaving yourself room to adapt. Empty conduit, sometimes called smurf tube, is your insurance policy against the unknown.
A few places worth running conduit or at least a pull string:
- Between floors, so you can add cabling later without fishing through framing
- From your equipment closet to the attic and the crawlspace
- To your primary media wall and any spot where a future projector might live
- To the garage, in case an EV charger or detached structure comes later
It feels like a small expense now. It feels like genius five years from now.
5. Size Your Electrical Load First
Smart homes ask more of your electrical system than older homes did. Between EV chargers, heat pumps, home batteries, and a growing list of always-on devices, the standard panel that looked generous a decade ago can fill up quickly.
Sit down with your electrician and map your real load, including the things you might add later rather than only what you need on day one.
Plan dedicated circuits for high-draw equipment, and leave open breaker space in the panel.
Some homeowners are also choosing smart electrical panels that monitor usage circuit by circuit, which makes it far easier to spot problems and manage energy down the road.
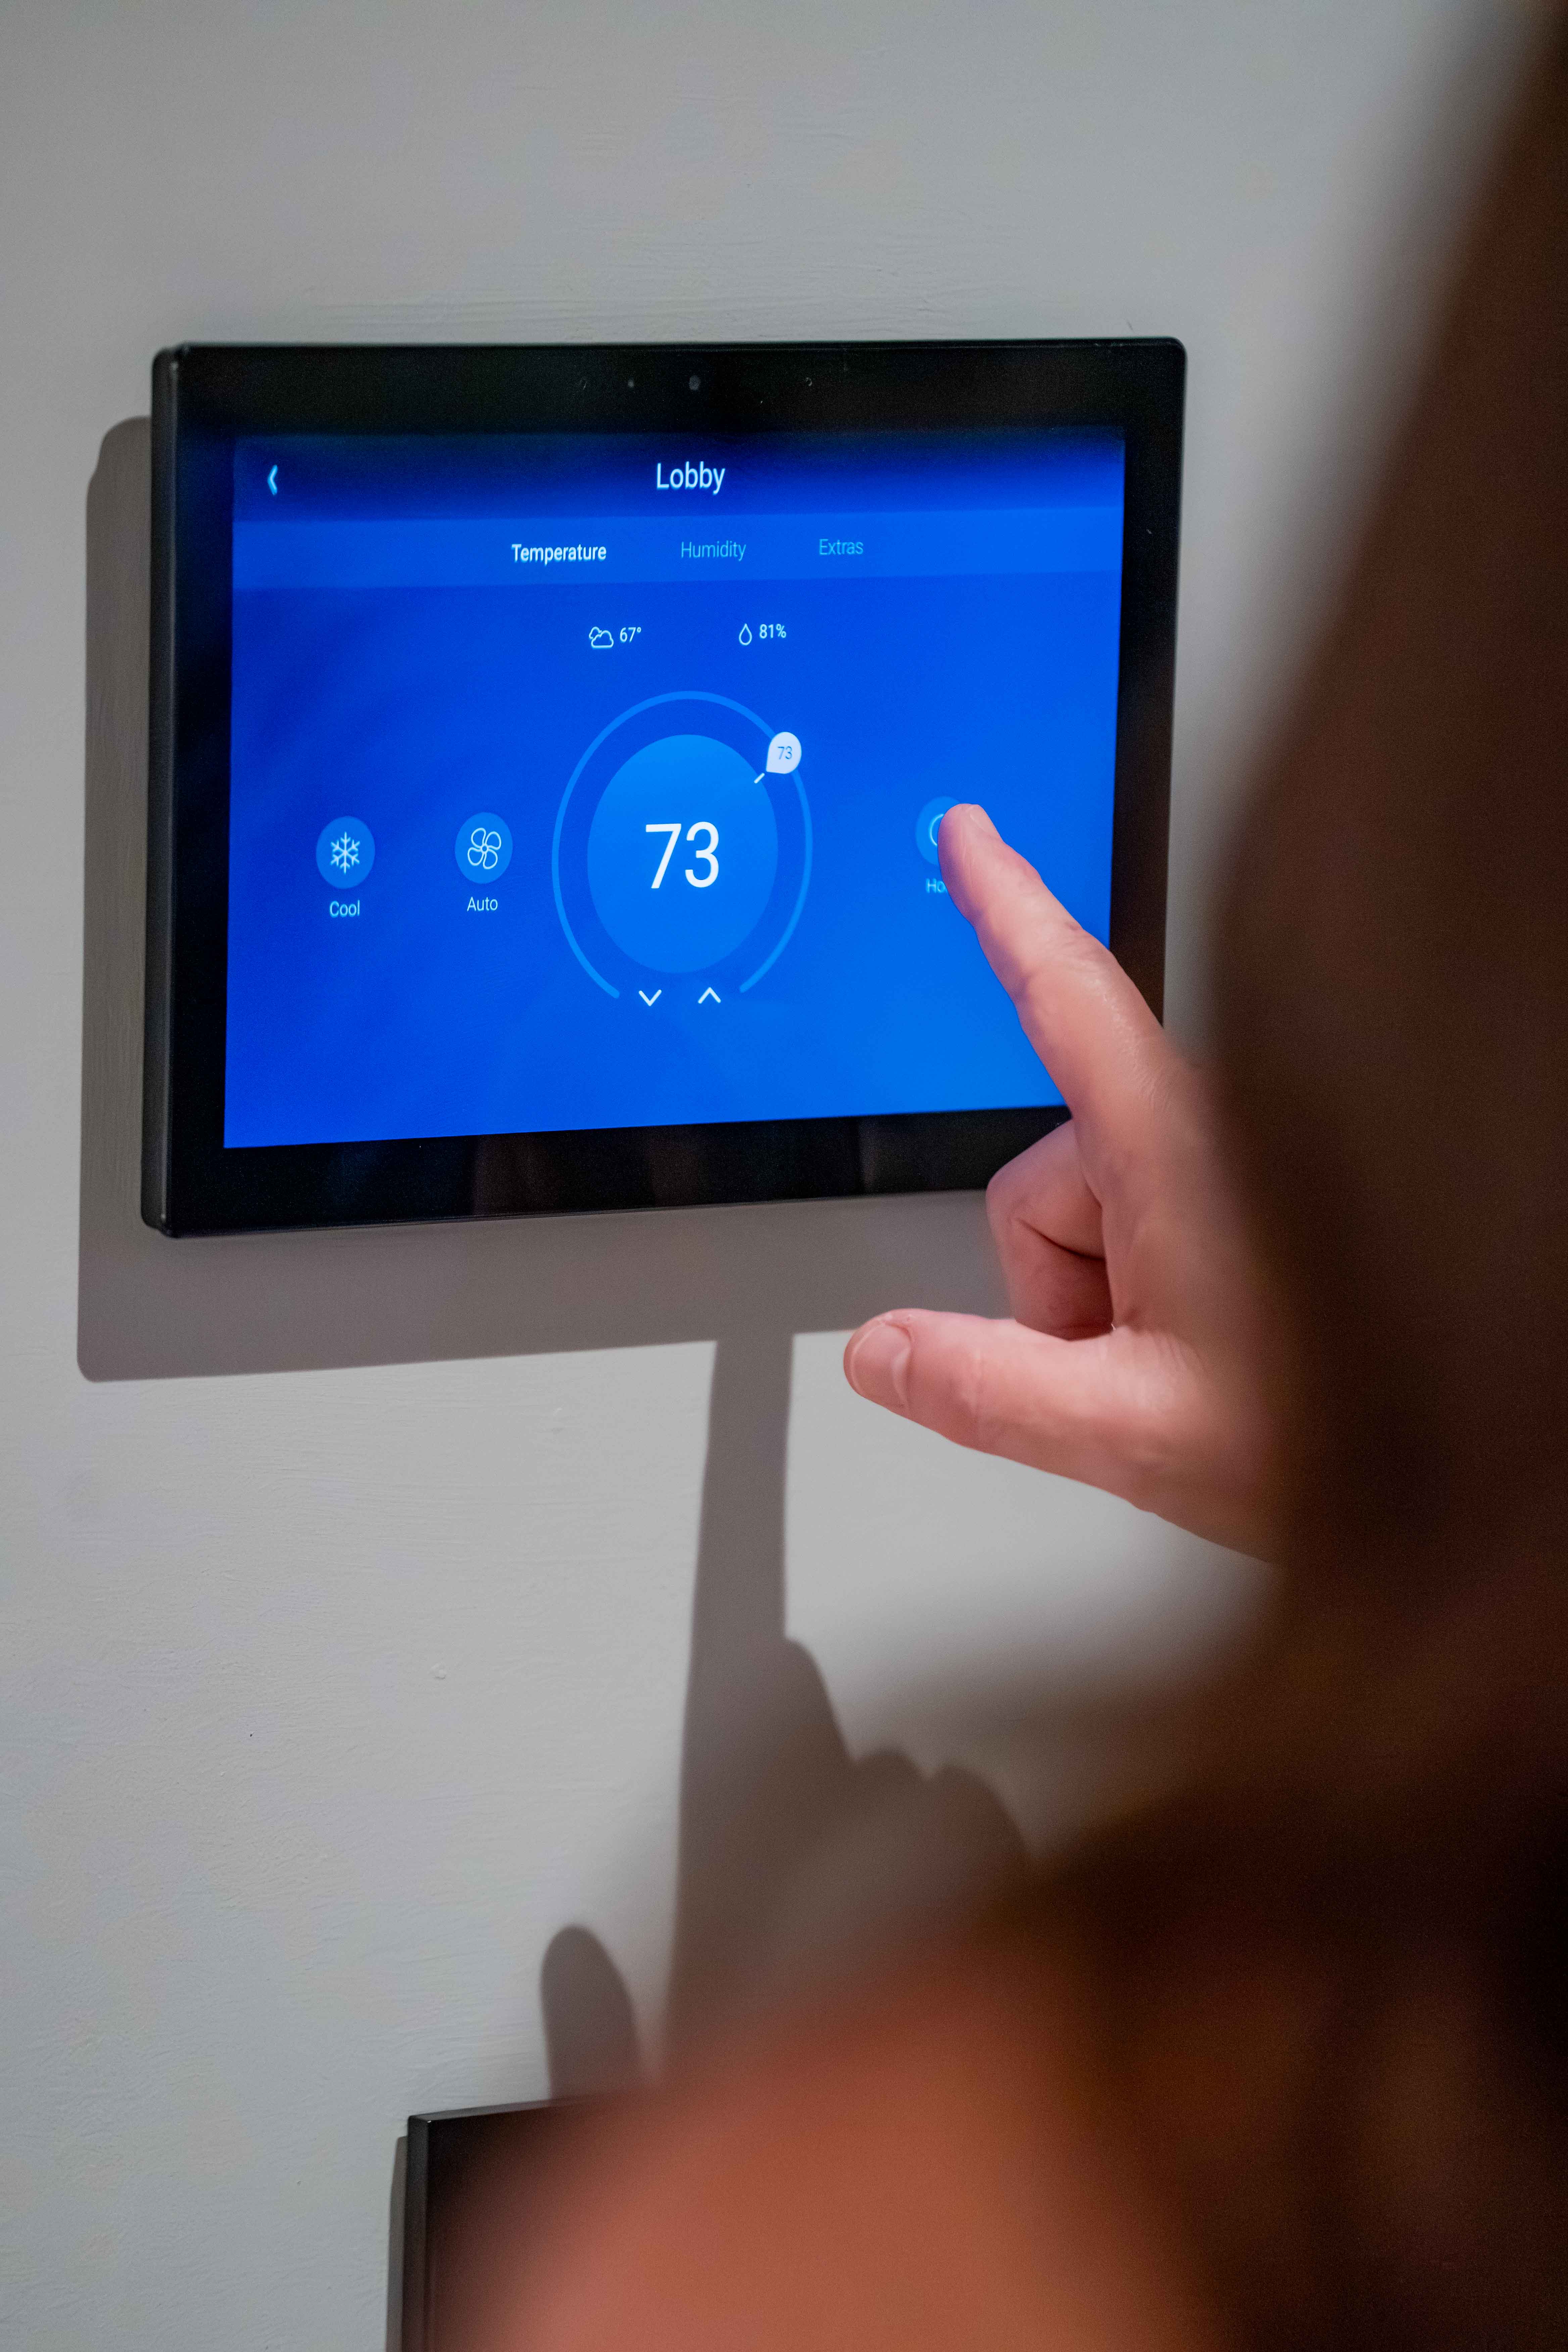
6. Plan Your Lighting Control
Lighting is where a smart home either feels effortless or feels fussy, and the difference usually comes down to wiring choices made before paint. Decide early whether you want individual smart switches or a centralized lighting control system, because they are wired very differently.
Before the walls close, walk the framed home and settle a few things:
- Where keypads and scene controllers should live, ideally where your hand already reaches for a switch
- Which fixtures should be grouped together onto the same control
- Which rooms need true dimming versus simple on and off
- Whether high-load areas like the kitchen or great room deserve a centralized lighting load center
Standing in the actual space is worth more than any floor plan. We do this with clients regularly, and it almost always changes a few decisions for the better.
7. Map Cameras And Exterior Runs
Outdoor wiring is painful to add after siding and soffits are finished, so plan it now. Most quality security cameras run on Power over Ethernet, which means a single Cat6 cable handles both data and power. Run cabling to:
- Camera spots that cover entry points, the driveway, and any blind corners
- A video doorbell at the main entry
- Any gate, intercom, or detached structure
- Exterior access points if your property is large
Soffit power and a clean cable path make a big difference in how tidy the finished install looks.
8. Don't Skip The Quiet Essentials
A few details rarely make the highlight reel but matter every single day:
- A C-wire at every thermostat location so smart thermostats run reliably
- Wiring to windows if you ever want automated shades
- Both power and data behind every wall-mounted TV
- Cabling into the ceiling for projectors, speakers, and access points so nothing dangles
And give your gear a real home. A ventilated equipment closet with proper power and a central wiring enclosure keeps everything organized, cool, and easy to service.
9. Label Runs And Use Licensed Pros
Finally, document what you build. Label both ends of every cable and keep a simple map of what runs where. The person servicing your home in ten years will thank you, and so will the next owner.
Just as important, use licensed and insured electricians and integrators who pull the proper permits and follow local code.
.jpg)